How to Dry a Wet Child Car Seat
Child car seats are essential for ensuring the safety and comfort of our little ones during travel. However, accidents like juice spills, rain, or other wet conditions can quickly make the car seat uncomfortable or unhygienic. Acting promptly to dry the seat to prevent potential damage or hygiene concerns is crucial. Whether you’re dealing with a small spill or an enormous wet mess, the following step-by-step guide will help you dry your child’s car seat correctly, ensuring it stays safe and comfortable for your little one.
Why It’s Important to Dry a Wet Car Seat
A wet car seat can pose several problems if not dealt with properly. Aside from the discomfort it causes, moisture can lead to the growth of mold and mildew, which can compromise both hygiene and the integrity of the car seat. By quickly drying the seat, you prevent these issues, ensuring the seat remains safe and functional for your child’s future trips.
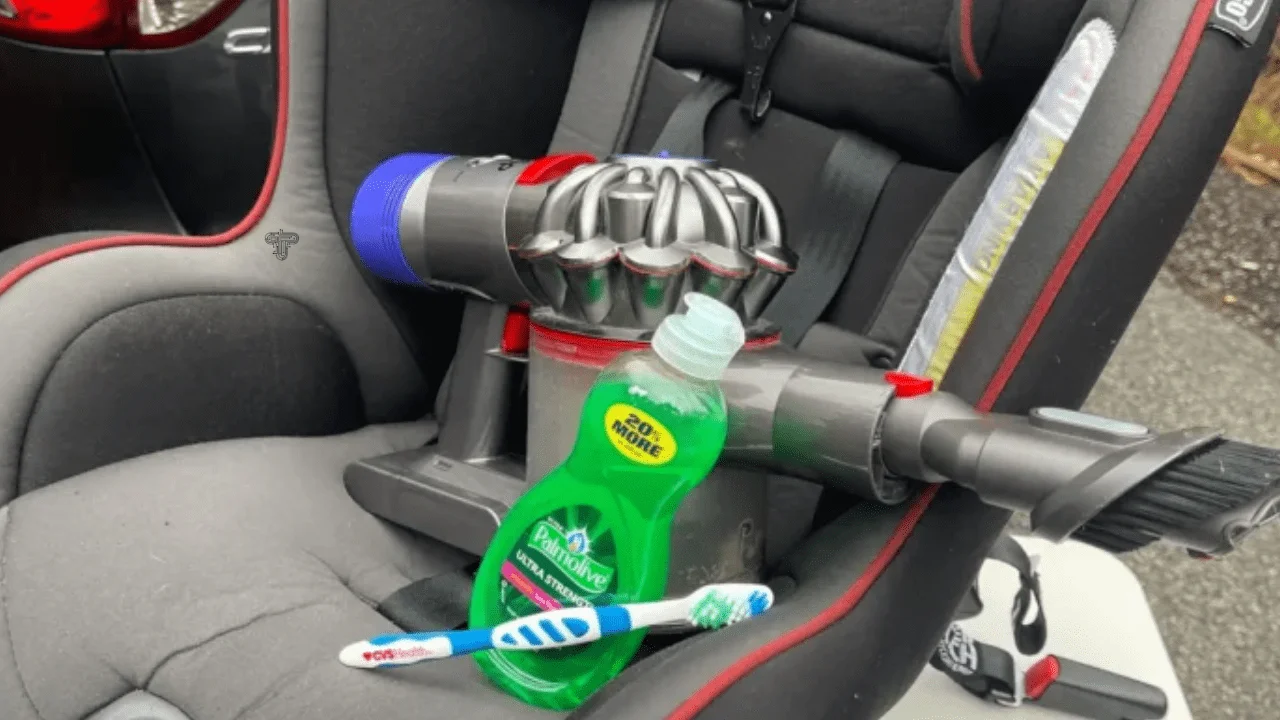
Tools and Materials You’ll Need
Before you start the drying process, gather a few essential tools to help you manage the moisture without damaging the car seat:
- Microfiber towels: These towels are highly absorbent and gentle on car seat fabrics.
- Mild soap or baby-safe detergent: Ideal for cleaning without causing harm to the seat’s materials.
- Soft-bristle brush: This is useful for loosening dirt and debris trapped in fabric creases.
- Vacuum cleaner: Equipped with a brush attachment or crevice tool to pick up any large debris.
Step-by-Step Process for Drying a Wet Car Seat
1. Remove the Car Seat from the Vehicle (If Possible)
While removing the seat is not always necessary, doing so will make it easier to access all areas for drying. This is particularly helpful if the seat has been wet for longer or if the moisture has seeped into the crevices. Additionally, removing the seat from the vehicle allows it to air out in a more controlled environment.
2. Detach Any Removable Padding or Fabric
Many car seats, including those from brands like Jovikids, have removable fabric covers or padding. If your seat’s padding is removable, take it off and follow the manufacturer’s guidelines for washing. Baby-safe laundry detergent and a bar of mild, non-toxic soap are often recommended for toddler seats. This step helps eliminate any contaminants or odors caused by the moisture.
3. Vacuum the Seat
Before drying, use a vacuum cleaner to remove large particles, dirt, or crumbs from the seat. This will ensure that no debris gets trapped while you clean or dry the seat. Use a brush attachment or crevice tool to get into smaller gaps.
4. Clean the Fabric
Use a mixture of warm water and a small amount of mild soap to clean the fabric. Avoid oversaturating the material, as excessive moisture can cause the fabric to take longer to dry. Gently scrub the fabric using a soft-bristle brush, and be careful not to scrub too hard, as this could damage the material. Focus on any spots or stains that may have been caused by the spill.
5. Towel Dry the Seat
After cleaning, use a microfiber towel to blot any excess moisture from the car seat. Press down on the fabric to absorb as much water as possible, careful not to rub or damage the surface. This will help speed up the drying process and prevent water from soaking deeply into the materials.
6. Allow the Seat to Air Dry
Once you’ve towel-dried the seat, the next step is to allow it to air dry completely. Place the car seat in a well-ventilated area, preferably in a space with good airflow.
Avoid direct sunlight or extreme heat sources, which can cause the fabric to fade or shrink. Depending on the severity of the moisture, it may take several hours for the seat to fully dry.
If you’ve removed any fabric coverings or padding, hang them outside or in a dry room with adequate airflow. Again, avoid using a dryer, which can shrink the fabric or cause damage.
7. Reassemble the Car Seat
Once the car seat and its parts are completely dry, it’s time to reassemble it. Ensure all straps, buckles, and components are aligned correctly and securely fastened. Double-check the harness system for any adjustments to ensure it fits comfortably and adequately for your child’s safety. Refer to the manufacturer’s manual for any instructions regarding reassembly.
How to Wash a Kid’s Car Seat
Aside from drying, it’s essential to regularly clean your child’s car seat to maintain hygiene and safety.
1. Check the Manufacturer’s Instructions
Each car seat may have specific care instructions, so referring to the manufacturer’s guidelines before beginning any cleaning or drying process is essential. Some seats are designed to be hand-washed, while others may have machine-washable fabric parts. Make sure you follow these guidelines to avoid damaging the seat.
2. Remove Detachable Parts
Take off any removable fabric covers, pads, or detachable parts per the manufacturer’s instructions. These areas are typically most prone to spills and dirt and should be cleaned thoroughly.
3. Hand Wash or Machine Wash?
Depending on the manufacturer’s guidelines, you may need to wash the fabric parts by hand or machine. If machine-washing is allowed, use a gentle cycle with cold water and a mild detergent. Avoid using bleach or harsh chemicals that could degrade the material or compromise safety features.
4. Air Dry the Parts
After washing, allow all fabric parts to air dry in a well-ventilated area. Do not use a dryer, as the high heat could damage the fabric or cause it to shrink. Hang the parts outside if possible, or place them on a drying rack.
5. Clean the Seat Frame
While the fabric parts are drying, clean the non-removable components of the car seat frame using a mild soap and water mixture. Wipe down the frame with a soft cloth or use a soft-bristle brush to remove dirt and debris. Be sure to wipe off any soap residue with a damp cloth.
6. Reassemble the Car Seat
Once the fabric and the frame are both dry, carefully reassemble the car seat. Adjust the harness straps and ensure everything is secure. Perform a quick check to ensure the car seat is installed correctly and meets safety standards.
Tech Blaster
Final Thoughts
By thoroughly cleaning and drying, you can ensure your child’s car seat is always ready for the next adventure. With brands like Jovikids offering quality and safety, you can have peace of mind knowing your little one is protected while on the road.
Incorporating these tips into your regular car seat maintenance routine will help extend the life of your child’s car seat while ensuring they remain comfortable and safe during their travels.